본문 바로가기

웹개발

DRF + ML 1일차

DRF와 머신러닝 모델을 이용한 웹 서비스 개발 토이 프로젝트를 시작하였다.(23.05.22)
1일차에는 기획 및 SA 작성, 개발환경 구축에 사용하였다.

SA

주제명: angry cat

인식된 사람 얼굴 옆에 화가나 때릴려고 하는 고양이 이미지를 넣어주고 해당 이미지를 공유하는 커뮤니티 서비스

구현 방법:

  1. 기본적인 DRF구현: 지난 토이 프로젝트 때 진행한API 응용 및 수정 + 구글 소셜로그인 구현
  2. 이미지 프로세싱+ 얼굴인식용 CV라이브러리 이용: 글 작성시 이미지 업로드 - 업로드 된 이미지에 대해 화난 고양이 추가하기 기능
    화난 고양이 추가: 사물인식(사람 얼굴의 location) → 얼굴의 위치 주변에 고양이 이미지 합성
  3. GPT 이용: 고양이가 화난 이유에 대한 설명을 GPT를 이용해 생성

역할분배(기본기능) :

  • 팀원1, 팀원2 - 이미지처리 Machine Learning,
  • 나, 팀원3 - DRF 기능 구현, GPTapi, token로그인 + google api 이용한 로그인
  • 팀원4 - Git 관리

개발규칙

  • 아침 회의 및 퇴실 전, 식사시간 전후로 진행상황 공유
  • 코드컨벤션 : 변수명-스네이크 표기법, 클래스명-파스칼 표기법
  • 포맷터 : python-black formatter, html-prettier
  • 객체에 docs로 설명 작성
  • 깃 운영규칙 : 브랜치 작명규칙, 커밋메세지 규칙(https://doublesprogramming.tistory.com/256).
  • 개발 환경 관리 : conda env와 requirements.txt로 관리.
  • 독스트링, 주석 컨벤션 - https://engineer-mole.tistory.com/136
  • 매일 저녁8시~9시: SA 수정, README 수정
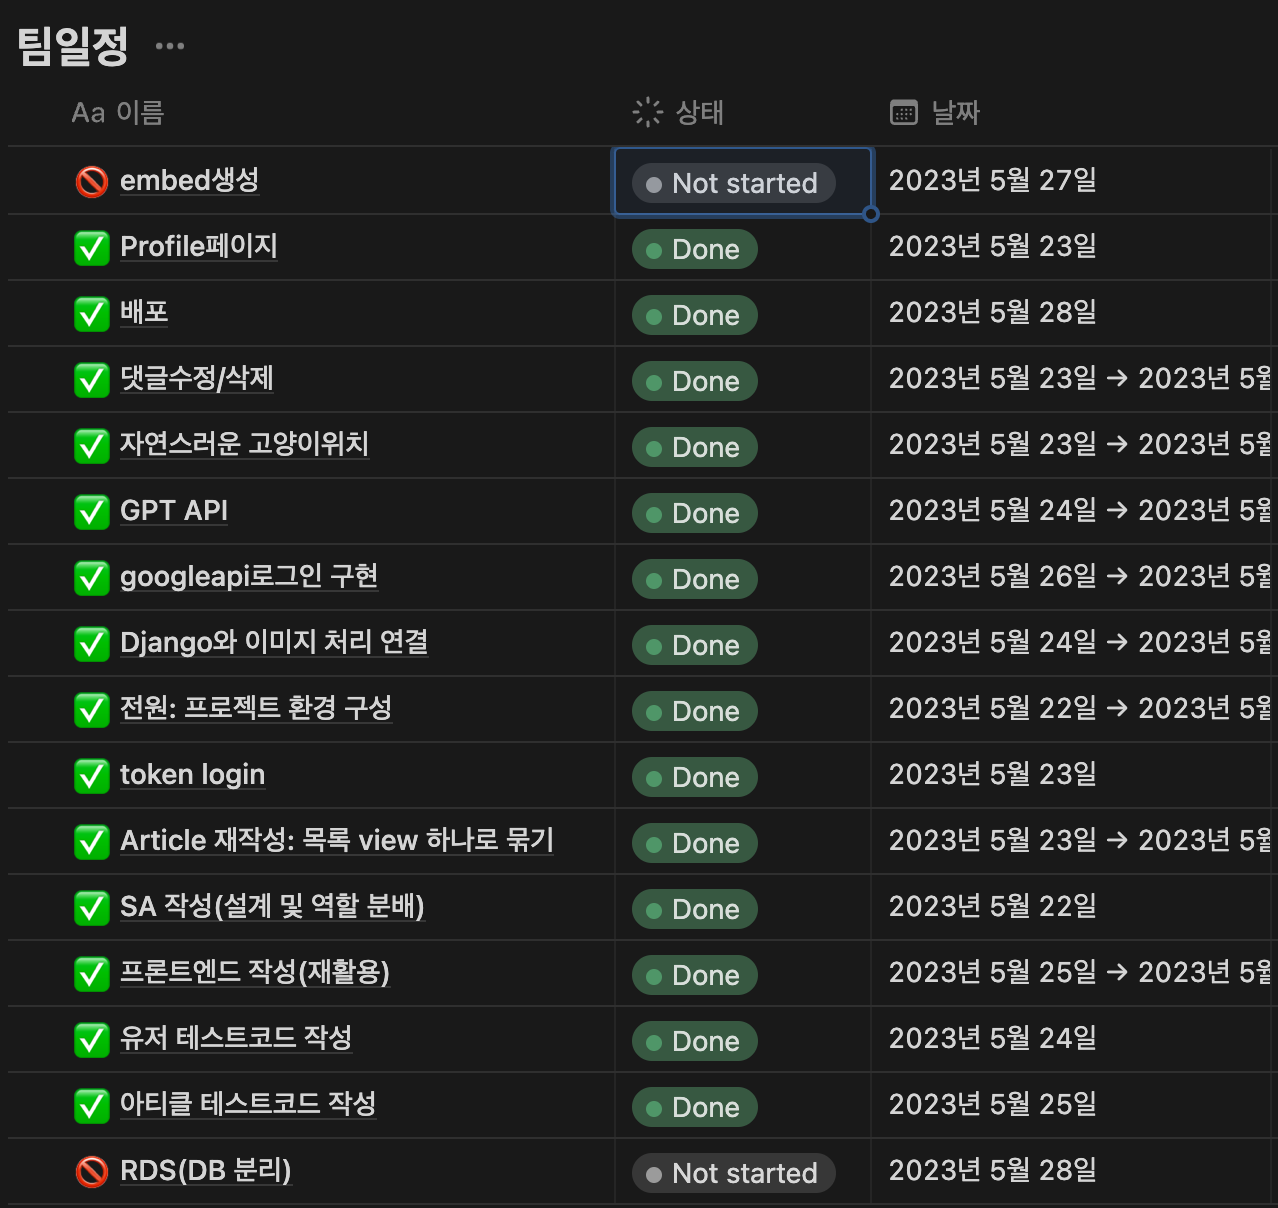
전체 일정 및 구현 사항 정리

WireFrame

ERD

API 명세


이름
 
 
Method
 
 
주소
 
 
Request
 
 
Response
 
 
회원가입
 
POST
 
/user/sign/
 
{username:str, password:str, password2:str, email:str}
 
201, {”message”:회원가입 성공}
 
 
탈퇴
 
PUT
 
/user/sign/
 
{password:str}
 
200
 
 
유저정보조회
 
GET
 
/user/sign/
 
-
 
200, { ”username”:<varchar>, ”email”:<varchar>, ”bio”:<text>, ”article_count”:<int>, ”comment_count”:<int> }
 
 
특정유저정보조회
 
GET
 
/user/sign/<int:user_id>/
 
-
 
200, { ”username”:<varchar>, ”email”:<varchar>, ”bio”:<text>, ”article_count”:<int>, ”comment_count”:<int> }
 
 
유저정보수정
 
PATCH
 
/user/sign/
 
{current_password:str, ”bio”:text, ”password”:str, ”password2”:str}
 
200, {”message”:”수정완료”}
 
 
로그인
 
POST
 
/user/token/
 
{username:str, password:str}
 
200, { ”access”:<token>, ”refresh”:<token> }
 
 
토큰 재발급
 
POST
 
/user/refresh/
 
{refresh:str}
 
200, { ”access”:<token> }
 
 
토큰 검증
 
POST
 
/user/verify
 
{token:str}
 
200
 
 
게시글 목록조회
 
GET
 
/article /article/(쿼리시) ?page=<int:pagenum> ?filter=<str> (trending,bookmarked, user) ?user_id=<int>
 
-
 
200, { ”count”:”” ”next”:”” ”previous”:”” ”results”:[{ "id":<int>, "author": <varchar>, "title" : <varchar(30)>, ”change_pic”:<File>, "created_at" : <DateTime>, "author_id": <int>, ”likes_count”:<int>, ”comment_count”:<int>, }]}
 
 
글상세조회
 
GET
 
/article/<int:article_id>/
 
-
 
200, { "id":<int>, "author": <varchar>, "title" : varchar(30), ”description”:text, ”change_pic”:<File>, ”input_pic”:<File> ”cat_says”:<text> "created_at" : DateTime, ”updated_at”:DateTime, "author_name" varchar, ”likes_count”:int, ”comment_count”:int }
 
 
글 작성
 
POST
 
/article/
 
{title:str, description:text, pictures:int, cat_says:text}
 
201, {”message”:”작성완료”}
 
 
글 삭제
 
DELETE
 
/article/<int:article_id>/
 
-
 
204, {”message”:”삭제완료”}
 
 
글 수정
 
PUT
 
/article/<int:article_id>/
 
{title:str, description:text, cat_says:text}
 
200, {”message”:”수정완료”}
 
 
좋아요
 
POST
 
/article/<int:article_id>/like/
 
-
 
200,{”message”:”like했습니다.”}
 
 
북마크
 
POST
 
/article/<int:article_id>/bookmark/
 
-
 
200,{”message”:”북마크 추가되었습니다.”}
 
 
댓글 작성
 
POST
 
/article/<int:article_id>/comment/
 
{content:str}
 
200, {"message": "작성완료"}
 
 
댓글 조회
 
GET
 
/article/<int:article_id>/comment/ /(쿼리시)/comment_page=<int:pagenum>
 
-
 
200, { author:<varchar>, content:<text>, created_at:<DateTime>, updated_at:<DateTime> }
 
 
댓글 수정
 
PUT
 
/article/comment/<int:comment_id>
 
{content:str}
 
200, {”message”:”수정완료”}
 
 
댓글 삭제
 
DELETE
 
/article/comment/<int:comment_id>
 
-
 
204, {”message”:”삭제완료”}
 
 
GPT 요청
 
POST
 
/article/mentgen/
 
{description:str}
 
200,{”cat_says”:”text”}
 
 
사진수정
 
POST
 
/article/picgen/
 
{input_pic:imgFile}
 
200,{”id”:int, ”input_pic”:imagefile, ”change_pic”:imagefile, ”author”:int }
 
 
google 로그인을 위한 정보제공 API
 
GET
 
/user/google/url/
 
-
 
{{ "client_id": str, "redirect_uri": str, }}
 
 
google 인증정보로 token 발금 API
 
POST
 
/user/google/token/
 
{”access_token”:str}
 
{”refresh”:str, ”access”:str}


개발환경 구축

위와같이 기획한 뒤, Anaconda를 설치하며 개발환경을 구축하였다.

Anaconda란

여러 Python 프로젝트 개발을 수행하다 보면 package 버전이 충돌하는 불편함이 생길 수 있다. Anaconda 개발 프로젝트별로 가상 환경을 제공하여 버전 충돌을 방지할 있다는 장점이 있는데, 사용이 간편하고 기본적으로 제공되는 옵션이 많아 기계학습, 데이터 분석 등을 위한 환경을 구축하기 편리하다는 장점이 있어 널리 사용된다. 단, 그만큼 기본적으로 Anaconda 자체가 차지하는 용량이 작지 않으므로, 이점에 유의할 필요가 있다.


설치 후 가상환경만들기 : conda create --name 가상환경_이름 python=3.8 pip

위와같이 기본설치를 원하는 패키지와 버전을 지정하여 설치할 수 있다.


설치 후 가상환경 활성화 : conda activate 가상환경_이름

설치 후 가상환경 업데이트 : conda update -n base conda & conda update --all


아나콘다에서 자체적으로 지원하는 패키지 설치 명령어 : conda install 패키지_이름

원하는 패키지인 dlib을 위 명령어를 이용해 손쉽게 설치가능하다. conda install -c conda-forge dlib

conda-forge는 패키지 정보를 찾기위한 저장소이다.

이외 대부분 패키지들은 pip install을 이용해 설치가능하다.


'웹개발' 카테고리의 다른 글

REACT: JavaScript - 01  (0) 2024.08.30
Django QnA-50 07.31  (0) 2023.07.31
ERD 강의 정리(04.27)  (0) 2023.04.27
장고와 MVT(23.04.25)  (0) 2023.04.25
세션인증과 토큰인증  (0) 2023.04.24